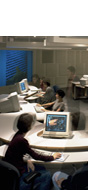
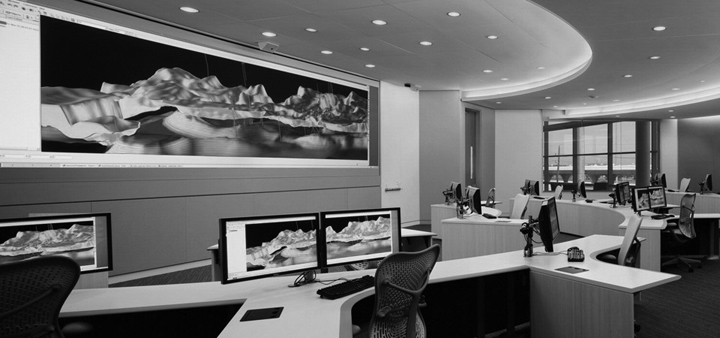
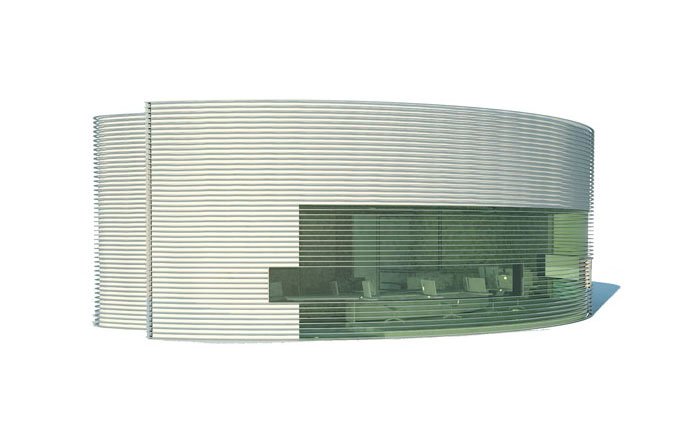
Completed Classroom. Photo provided by HOK Houston.

Section diagram: Ceiling geometry enhances classroom acoustics and integrates air distribution, audio components, and specialized lighting scenes.
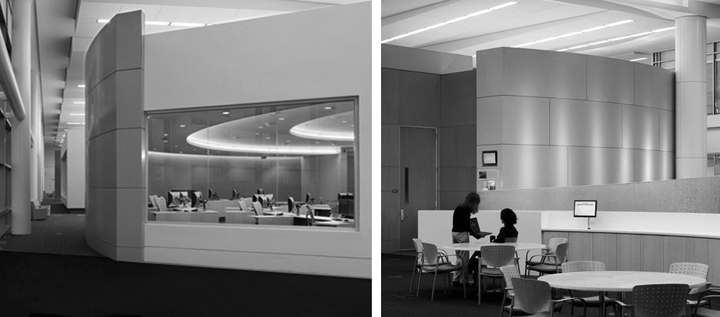
Completed Classroom. Photo provided by HOK Houston.

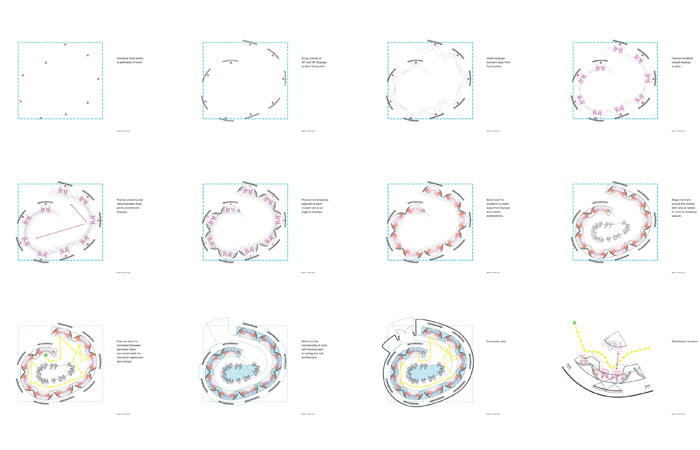
Phase One, 3 Options

Option 1 Tripod
1. Introduce three focal points at perimeter of room.
2. Array a series of 72” displays and 46” displays at each focal point.
3. Orient displays outward, away from focal points.
4. Position students toward displays and in relation to each other around three focal points.
5. Provide unobstructed views between focal points and remote displays.
6. Position workstations adjacent to each student and at an angle to displays.
7. Allow room for students to rotate away from displays and toward workstations.
8. Shape furniture around this motion.
9. Free corridors for movement between the three “pods” for instructor supervision and contact.
10. Reinforce the functionality of the shape through the development of ceiling and wall architecture . . .
11. Composite view
12. Workstation furniture detail

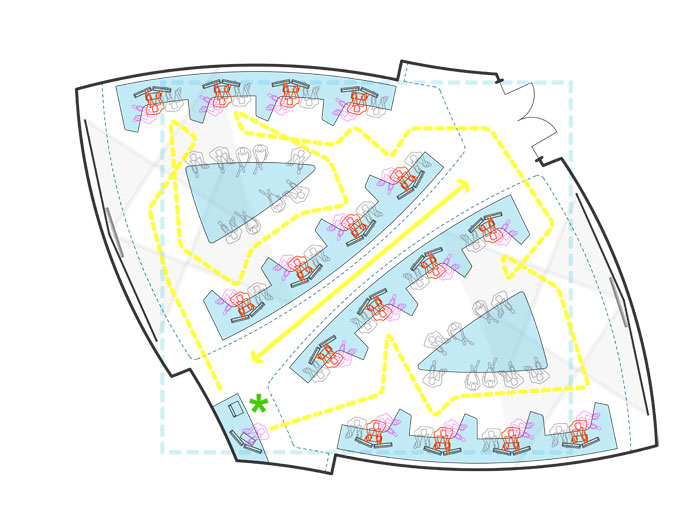
Option 2 Switchback
1. Introduce two focal points at either end of room.
2. Position two pairs of front projection 6’ x 12’ displays at each focal point.
3. Orient displays across room, away from focal points.
4. Position students toward displays and in relation to two open view corridors.
5. Provide unobstructed views to focal points and across view corridors.
6. Position workstations adjacent to each student and at an angle to displays.
7. Allow room for each student to rotate away from displays and toward workstations.
8. Shape furniture around this motion. Add table at center of each view corridor for breakout sessions.
9. Free corridors for movement between the two view corridors for instructor supervision and contact.
10. Reinforce the functionality of the shape through the development of ceiling and wall architecture . . .
11. Composite view
12. Workstation and breakout table furniture detail

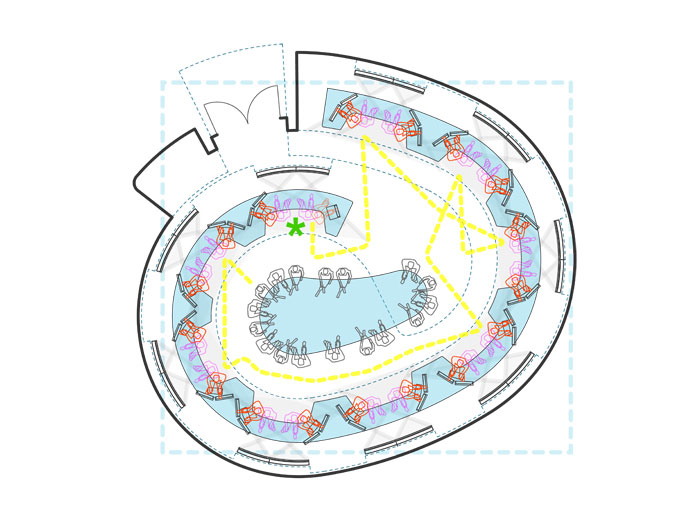
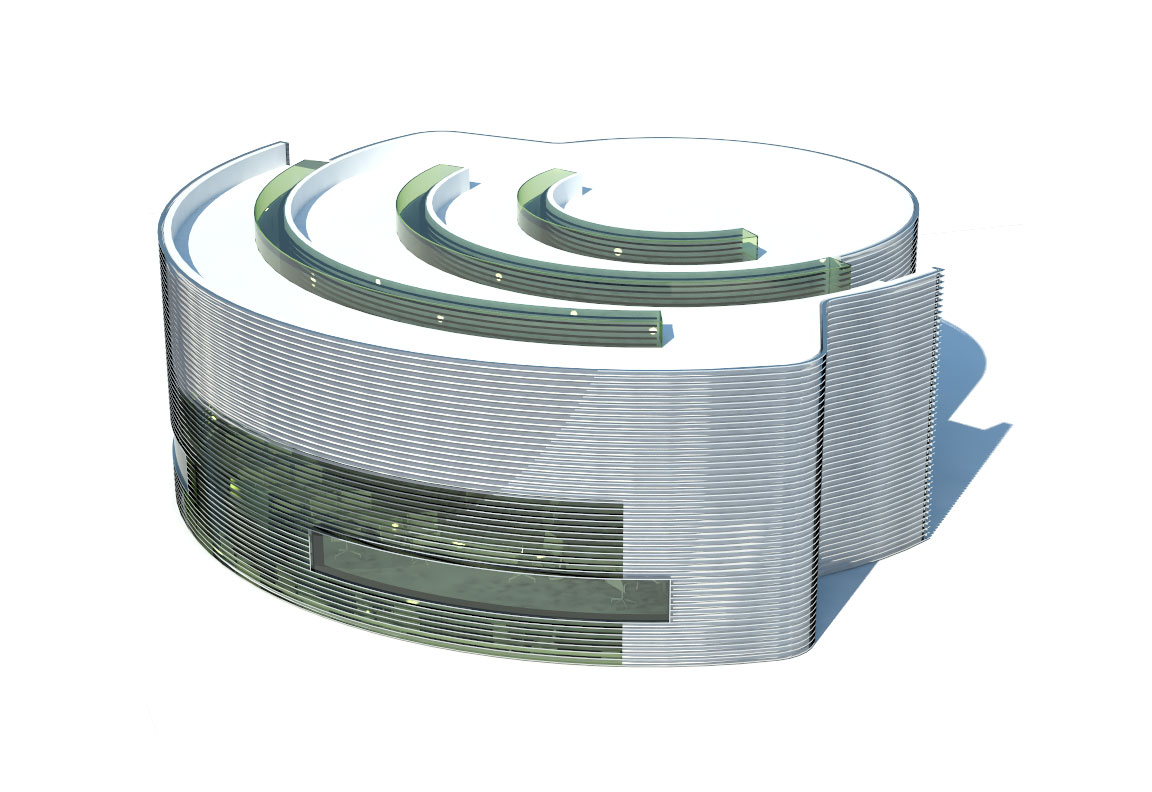
Option 3 Monofold
1. Introduce focal points at the perimeter of room.
2. Array a series of 56” displays and 46” displays at each focal point.
3. Orient displays outward, away from focal points.
4. Position students toward displays in pairs.
5. Provide unobstructed views between focal points and remote displays.
6. Position workstations adjacent to each student and at an angle to displays.
7. Allow room for students to rotate away from displays and toward workstations.
8. Shape furniture around this motion. Add table at center of room for breakout session.
9. Free corridors for movement between perimeter table and center table for instructor supervision and contact.
10. Reinforce the functionality of the shape through the development of ceiling and wall architecture . . .
11. Composite view
12. Workstation furniture detail
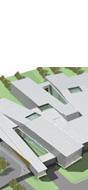
Perspective Diagram
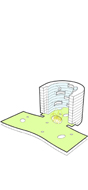
Focus: Success in a classroom is determined by the instructor’s ability to both focus a group’s attention while providing a lesson overview, and to later allow small groups to reflect in equal measure. In the BP classrooms a shape we named the “mono-fold” allows for both. The instructor’s position can reside at the front of the room where large displays support a lecture format. Students face the front of the room while monitoring content at their own workstations.
Reflect: Breakout areas are interspersed throughout the plan allowing individuals to gather and work in smaller groups. This mode flattens the organization of the classroom allowing students to test materials and reflect upon the lesson.
Interloop—Architecture was commissioned to design three different organizational models for new interactive, multi-media classrooms. One final design model was selected and built in multiple to form a Houston–based Learning Center. Classrooms of this type are an increasingly common requirement for research & technology based corporations. They not only enhance communication and collaboration between the diverse expertise of their employees and clients, but also serve as a recruiting tool for highly competitive prospective candidates for employment.
Perspective diagram: Skylights allow diffuse natural light when window shades are drawn for proprietary curriculum and content.